Knitting Techniques Amanda Scheuzger 4/23/25 Knitting Techniques Amanda Scheuzger 4/23/25 What Your Favorite Knitting Stitch Says About You (And Your Knitting Style) Read More yarn Amanda Scheuzger 2/24/25 yarn Amanda Scheuzger 2/24/25 Hand-Dyed Sock Yarn: 5 Stunning Picks for Everyday Socks Read More yarn Amanda Scheuzger 12/21/24 yarn Amanda Scheuzger 12/21/24 7 Colorful Cozy Bulky Yarns for Your Winter Knitting Read More knitting, patterns Amanda Scheuzger 10/15/24 knitting, patterns Amanda Scheuzger 10/15/24 Quick Gift Knits: Four Stunning Last-Minute Projects You Can Finish in a Weekend Read More patterns Amanda Scheuzger 10/2/24 patterns Amanda Scheuzger 10/2/24 Knitting Cozy, Warm Socks has Never Been so Easy: Double Exposure Sock Pattern Read More Knitting Techniques Amanda Scheuzger 7/5/23 Knitting Techniques Amanda Scheuzger 7/5/23 The Art of Mosaic Knitting: A Guide for Beginners Read More knitting Amanda Scheuzger 4/8/23 knitting Amanda Scheuzger 4/8/23 Knit Happens: 2023's Most Exciting Knitting Trends Read More patterns Amanda Scheuzger 9/30/22 patterns Amanda Scheuzger 9/30/22 Tucker Pullover Read More yarn Amanda Scheuzger 8/5/20 yarn Amanda Scheuzger 8/5/20 How to Choose the Best Yarn for Your Brioche Shawl Read More patterns Amanda Scheuzger 8/5/20 patterns Amanda Scheuzger 8/5/20 Floret Wrap Read More Amanda Scheuzger 1/6/20 Amanda Scheuzger 1/6/20 Holidays on Hoth- Day 12 Reveal Read More Amanda Scheuzger 1/5/20 Amanda Scheuzger 1/5/20 Holidays on Hoth- Day 11 Reveal Read More Older Posts
Knitting Techniques Amanda Scheuzger 4/23/25 Knitting Techniques Amanda Scheuzger 4/23/25 What Your Favorite Knitting Stitch Says About You (And Your Knitting Style) Read More
yarn Amanda Scheuzger 2/24/25 yarn Amanda Scheuzger 2/24/25 Hand-Dyed Sock Yarn: 5 Stunning Picks for Everyday Socks Read More
yarn Amanda Scheuzger 12/21/24 yarn Amanda Scheuzger 12/21/24 7 Colorful Cozy Bulky Yarns for Your Winter Knitting Read More
knitting, patterns Amanda Scheuzger 10/15/24 knitting, patterns Amanda Scheuzger 10/15/24 Quick Gift Knits: Four Stunning Last-Minute Projects You Can Finish in a Weekend Read More
patterns Amanda Scheuzger 10/2/24 patterns Amanda Scheuzger 10/2/24 Knitting Cozy, Warm Socks has Never Been so Easy: Double Exposure Sock Pattern Read More
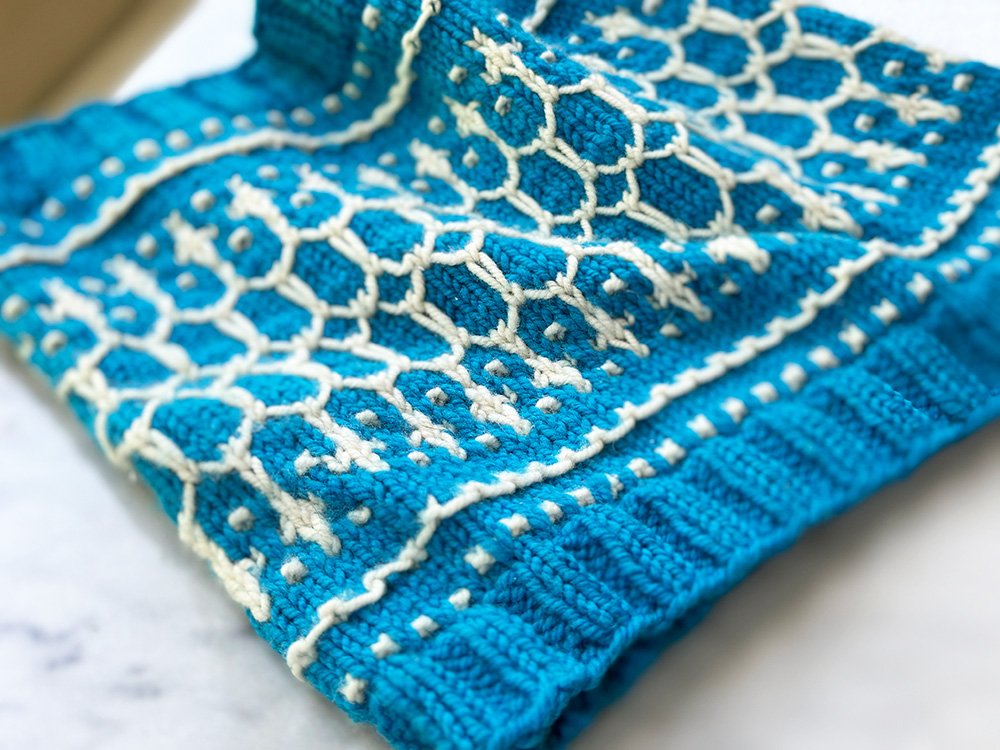
Knitting Techniques Amanda Scheuzger 7/5/23 Knitting Techniques Amanda Scheuzger 7/5/23 The Art of Mosaic Knitting: A Guide for Beginners Read More
knitting Amanda Scheuzger 4/8/23 knitting Amanda Scheuzger 4/8/23 Knit Happens: 2023's Most Exciting Knitting Trends Read More
yarn Amanda Scheuzger 8/5/20 yarn Amanda Scheuzger 8/5/20 How to Choose the Best Yarn for Your Brioche Shawl Read More